The little amber light on my Synology started blinking on a Tuesday night, and my first instinct was to yank the drive right then and there. That would have been a mistake. A failing disk in a redundant array is not an emergency you fix by reflex, it is a short window where one wrong move turns a routine swap into a total data loss event.
The trick is to slow down for twenty minutes and run through a proper checklist first.
A drive that is dying but still spinning is often more useful than a drive you have already pulled. It can still contribute to a rebuild in some setups, and it can still be read from if your backup turns out to be stale. So before anything comes out of a bay, walk through the items below in order. I have laid them out roughly the way I run them myself, from most important to least.
Step 1: Verify your backup is real and recent
This is the one item you cannot skip. A NAS with redundancy is not a backup, it is uptime insurance, and those are different jobs entirely. RAID protects you from a drive dying. It does nothing for a bad rebuild, a fat-fingered delete, or a power surge that takes two disks at once.
Open your backup target and actually look at it. Check the date of the most recent successful run, not the schedule you set up two years ago and forgot about.
Then test a restore. Pull one real file, a photo or a document, and confirm it opens. I have watched people trust a backup job that had been silently failing for four months because a cloud token expired. The backup existed on paper and was worthless in practice. For a clear explanation of why redundancy and backup are not the same thing, the Backblaze writeup on RAID versus backup is worth five minutes.
Step 2: Confirm which drive is actually failing
Do not trust the blinking light alone. Bay numbering on the case does not always match the slot number in the software, and pulling the wrong healthy drive out of a degraded array is how a single fault becomes a double fault.
Log into your NAS and open the storage or drive health panel. On Synology this lives under Storage Manager, on QNAP under Storage and Snapshots. Read the SMART data for every drive, not just the one that is complaining.
The numbers that matter most are these:
- Reallocated Sector Count rising above zero and climbing means the drive is remapping bad sectors.
- Current Pending Sector Count above zero means sectors it cannot read yet.
- Uncorrectable Sector Count is the serious one, these are gone for good.
- Reported Uncorrect or UDMA CRC Error Count can point at a cable or backplane rather than the disk itself.
Note the exact serial number of the failing drive from the software. When you open the case, match that serial to the physical label before you unlatch anything. This one habit has saved me more than once.
Step 3: Buy a compatible replacement drive
Match or exceed the capacity of the drive coming out. You cannot rebuild a 4TB slot with a 2TB disk, and a slightly larger drive is fine because the array will just use the size of the smallest member.
Buy the correct class of drive. A NAS runs disks 24/7 with vibration from neighboring drives, and desktop drives are not rated for that duty cycle.
| Drive line | Rated for | Rough price (4TB) |
|---|---|---|
| WD Red Plus (CMR) | NAS, 8 bays or fewer | $100-115 |
| Seagate IronWolf | NAS, general home use | $95-110 |
| WD Blue / desktop | Single-drive desktops | $70-85 |
Step 4: Prep the array and check its state
Before the swap, confirm the array is currently healthy apart from the one failing disk. A pool that is already degraded, or one where a scrub last flagged errors, needs those issues understood first.
Run a quick check of free space and pool status. If your NAS supports it, kick off a data scrub during a quiet period so you know the surviving data is consistent going in. On TrueNAS the scrub and pool status commands are front and center in the docs.
Write down your pool layout too. Know whether you are running RAID 1, RAID 5, SHR, or a ZFS mirror, because the tolerance for a second failure during rebuild depends entirely on that.
Step 5: Plan for the rebuild window
Rebuilds are slow and they are stressful on the hardware. A modern 8TB drive in a home NAS can take anywhere from eight to thirty hours to resilver, depending on how full the pool is and whether you keep using it during the process.
Plan to leave the NAS mostly alone while it works. Pause heavy backup jobs, Plex library scans, and torrent clients.
Make sure the box is on a UPS. A power blip during a rebuild is the worst possible timing, and a basic 600VA unit that costs around $70 will carry a small NAS through the brief outages that actually kill arrays.
Step 6: Have the physical swap details ready
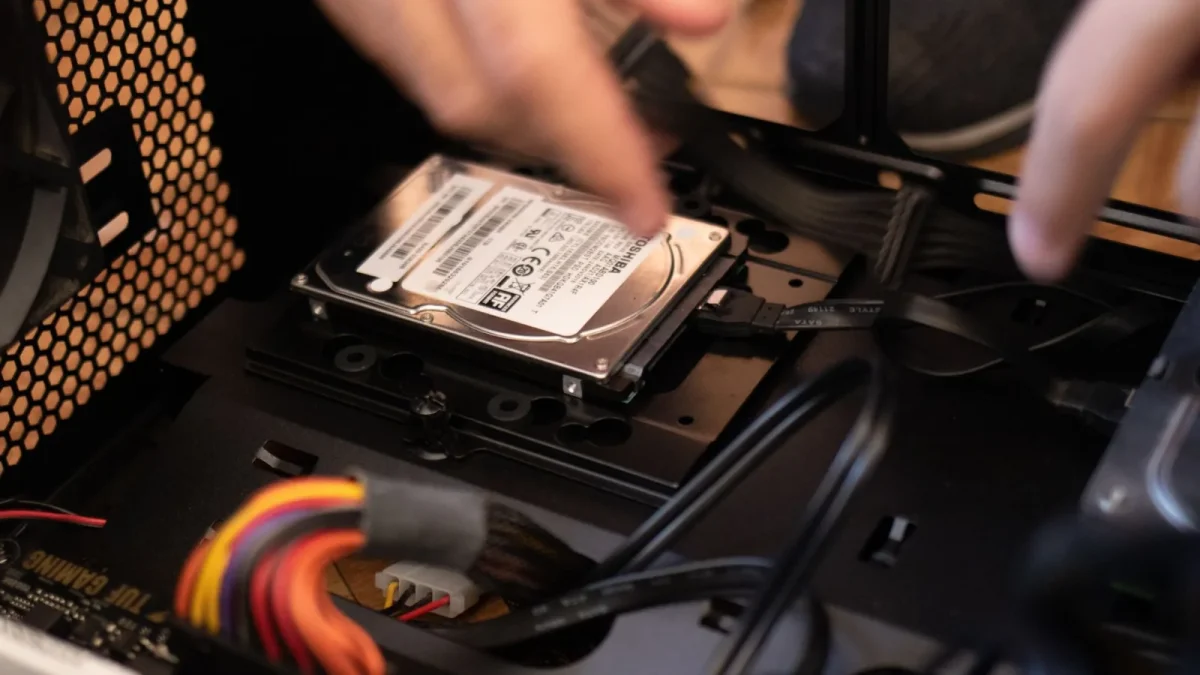
Small things trip people up at the bay. Confirm your unit supports hot-swap before you pull a drive with the power on, because many two-bay boxes do not and want a clean shutdown first.
Line up the right screwdriver, the mounting screws or tray, and a clear space to set the old drive down.
- Ground yourself by touching the metal chassis before handling the new disk.
- Seat the replacement fully until the tray latches, a half-seated drive shows as missing.
- Label the old drive with the date and its SMART verdict before it goes in a drawer.
- Keep the old drive intact until the rebuild finishes and reports healthy, it is your last fallback.
Run the list, then pull the drive
None of these steps take long on their own. Verifying a backup, reading SMART data, and buying the right disk might cost you half an hour total, and that half hour is what stands between a boring five-minute swap and a weekend of trying to recover an array that ate itself during a rebuild.
Work top to bottom, do not skip the backup check, and keep the failing drive alive until the new one has fully taken over. Do that and a dying disk becomes a non-event, which is exactly what it should be.
Frequently asked questions
Can I keep using my NAS while a drive is failing?
Light use is usually fine while a single drive is degraded, but stop heavy activity like large copies, backups, and media scans. Those tasks stress every remaining disk, which is risky if a second drive is also marginal. If you have no current backup, copy your critical files off first, then continue as little as possible.
Do I have to buy the exact same drive model to replace a failing one?
No, you just need equal or greater capacity and the same or better class of drive, meaning a CMR NAS-rated disk. Mixing brands like WD Red and Seagate IronWolf in the same array is fine. Avoid going smaller than the failing drive and avoid SMR disks, which can cause rebuilds to stall.
Should I pull the failing drive before or after buying the replacement?
After. Keep the failing disk in place until the new drive is in hand and, ideally, until the rebuild completes and reports healthy. A degraded but running array still has your data, and the old drive can serve as a last fallback if the rebuild hits trouble.
How long does a NAS rebuild take after I swap the drive?
It depends on capacity and how full the pool is, but expect roughly eight to thirty hours for a home NAS with 8TB drives. Fuller pools and continued use during the rebuild slow it down. Put the unit on a UPS and pause heavy jobs so the rebuild runs cleanly.
How do I know for certain which physical drive is the failing one?
Read the failing drive's serial number in your NAS software, then match that serial to the physical label on the disk before you unlatch anything. Bay numbers on the case do not always match slot numbers in the software, so never rely on the blinking light alone.