My old DS918+ started throwing volume warnings at 2am on a Tuesday, which is exactly the kind of timing these boxes seem to prefer. I had a shiny DS923+ sitting in its box for a month, waiting. That night I finally had a reason to move.
Migrating a Synology sounds terrifying until you understand that Synology built two very different roads for it, and both work. One physically moves your drives. The other copies everything over the network while the old unit keeps running.
Picking the right road is most of the battle. Let me walk you through both, and the traps I have watched people fall into.
First, figure out which migration path fits your situation
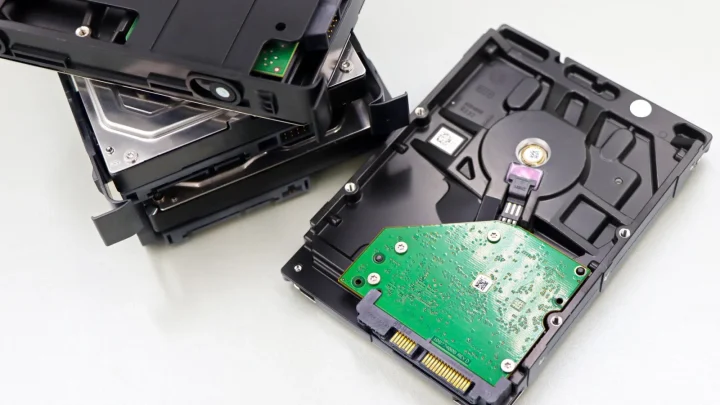
There are two supported methods, and they solve different problems. The drive transplant (Synology calls it migration by moving drives) physically pulls your disks out of the old NAS and slots them into the new one. Your data, volume, and most settings ride along on the drives themselves.
The second method is Migration Assistant, a package that clones one running NAS to another over your network. Your old NAS stays intact the whole time, which is a huge safety net.
Here is the quick decision table I use with readers.
| Situation | Best method | Why |
|---|---|---|
| Same drives, keeping them | Drive transplant | Fastest, no re-copy, minutes of downtime |
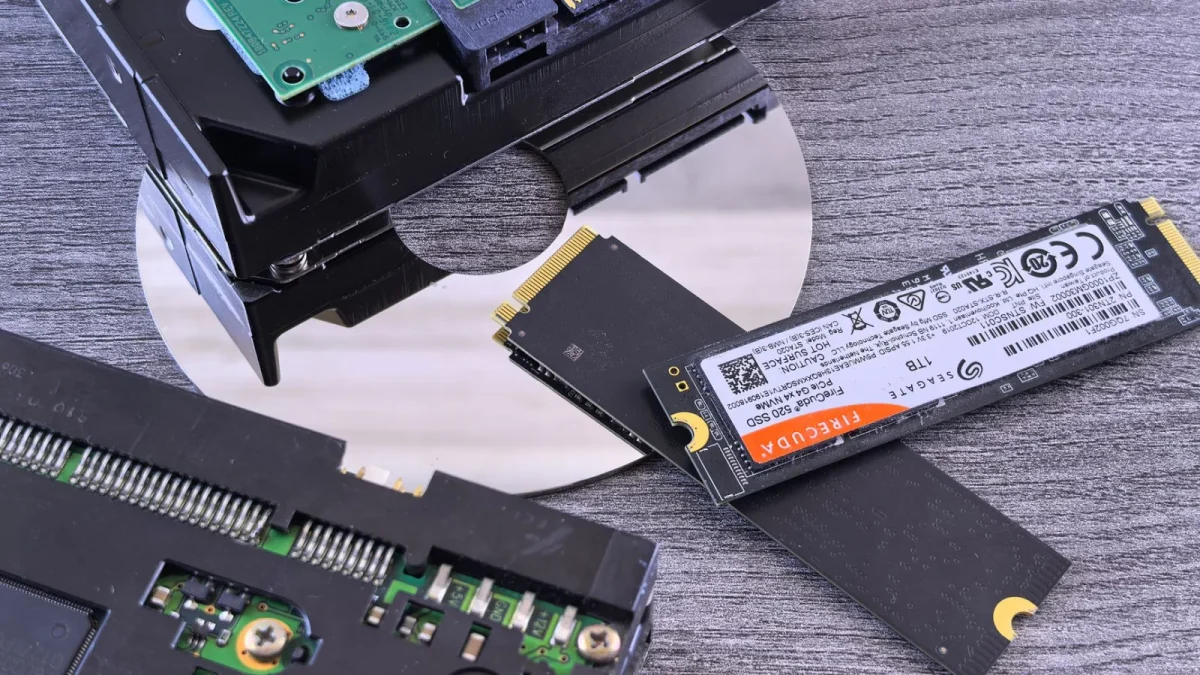
| New bigger drives | Migration Assistant | Copies data onto fresh disks over the network |
| Old NAS must keep serving files | Migration Assistant | Source stays online during the copy |
| Different drive count (2-bay to 4-bay) | Either, with care | Check the compatibility notes below |
Back up first, because migration is not a backup
I know, you want to skip this. Do not skip this.
A drive transplant that goes wrong can leave you staring at a volume that will not mount, and Migration Assistant can stall halfway on a flaky switch. Neither of those is a disaster if you have a current copy somewhere else.
The cheapest insurance is a USB drive attached to the old NAS running Hyper Backup, or a cloud target. If you want to understand why one copy is never enough, the 3-2-1 backup rule from Backblaze explains it in plain terms.
Method one: the drive transplant, step by step
This is the method I reach for when I am keeping the same disks. On good hardware it is genuinely a fifteen minute job.
- Update DSM on the old NAS first. Get it fully current under Control Panel, Update and Restore. The new NAS wants a DSM version equal to or newer than the drives it is receiving.
- Shut the old NAS down properly. Use the power menu in DSM, never yank the cord. Wait for the lights to go fully dark.
- Move the drives in the same order. Bay 1 to bay 1, bay 2 to bay 2. This matters for SHR and RAID sets. That phone photo pays off here.
- Do not insert your own drives into the new NAS beforehand. If the new unit already has initialized disks, it may want to wipe. Start with it empty.
- Power on the new NAS and find it. Open find.synology.com or the Synology Assistant desktop app. The unit will report a Migratable status.
- Follow the migration prompt. Choose to migrate and keep your data and settings. DSM handles the rest and reboots.
The first time I did this, I panicked when the new box asked me to install DSM and I thought it was about to erase everything. It was not. It was offering to migrate, and the wording just scared me. Read the screen carefully and pick the migrate option, not the fresh install.
Method two: Migration Assistant over the network
Use this when you are moving to fresh, larger drives, or when the old NAS has to stay online. Both units need to be on and reachable on the same network.
Install Migration Assistant from Package Center on both the source and the destination. Set up your new drives on the target NAS first, create the storage pool and volume, then run the assistant from the source.
- Pick the source NAS and let it scan for a compatible destination on the network.
- Select what to migrate. You can do a full system migration or pick specific shared folders and settings.
- Kick off the copy and walk away. This is the slow part. A gigabit link moves roughly 100 to 110 MB per second in the real world, so 4TB of data is around 10 to 12 hours. Plan overnight.
- Do the final switchover. When the copy finishes, the assistant handles a final sync and can transfer the identity so the new NAS takes over cleanly.
A mistake I see constantly: people start Migration Assistant, see the multi-hour estimate, assume it hung, and reboot. Do not. It is working. Go to bed.
Getting your network speed right so the copy does not crawl
Nothing wrecks a migration like a slow link. If your copy is creeping along at 30 MB per second, you are almost certainly bottlenecked somewhere.
Plug both NAS units into the same switch with real cables. Wi-Fi bridges and powerline adapters will murder your throughput. If both boxes have 2.5GbE ports, use them, and confirm the switch supports 2.5GbE too, otherwise you drop back to gigabit.
Link aggregation can help on multi-port models, but for a one-time migration it is rarely worth the fuss. A clean single gigabit line beats a misconfigured aggregated one every time. If you want the background on how these speeds actually translate, Synology's own Migration Assistant knowledge base article covers the requirements in detail.
After the move: the cleanup checklist
You are not quite done when the data lands. Run through this quick list so nothing bites you a week later.
- Check every shared folder mounts and permissions look right for a couple of test users.
- Reinstall and re-license apps that did not carry over, especially Plex and Surveillance Station.
- Update your backup jobs so Hyper Backup points at the new NAS, not the old one.
- Fix any device that connected by IP address rather than hostname.
- Run a storage pool health check and confirm SMART status on the drives.
Keep the old NAS around, powered down, for a week or two before you wipe it. If anything turns out missing, it is your instant fallback. I have never regretted waiting, and I have regretted wiping too soon.
When you are confident it worked
Give it a real week of normal use. Copy files, stream a movie, let the scheduled backups run once. If everything behaves, then and only then do you erase the old drives and repurpose the old box as a backup target.
Migration feels high stakes because your whole digital life lives on that thing. Done in the right order, with one solid backup behind you, it is closer to boring than dramatic. Boring is exactly what you want here.
Frequently asked questions
Will I lose my settings and users when I migrate to a new Synology NAS?
No. Both the drive transplant and Migration Assistant carry over your shared folders, user accounts, and permissions. A few packages tied to hardware or licenses, like Surveillance Station and Plex, may need reinstalling afterward, but your files and access rights stay intact.
Can I migrate from a 2-bay Synology to a 4-bay model?
Usually yes. A drive transplant works as long as the CPU architectures are compatible and you move the disks into the same starting bays. Check Synology's official migration compatibility list for your exact source and target models before you begin, since a few cross-generation jumps are not supported.
How long does a Synology migration take?
A drive transplant is fast, often fifteen minutes plus a reboot. A Migration Assistant network copy depends on data size and link speed. On gigabit you get roughly 100 MB per second, so around 10 to 12 hours per 4TB. Plan to run it overnight.
Do I need to update DSM before migrating?
Yes, update DSM on the old NAS first. The destination NAS expects a DSM version equal to or newer than the drives it receives. Migrating drives running an older DSM into a newer unit can trigger errors or a forced reinstall prompt, so get current before you move anything.
Is Migration Assistant safer than moving the drives?
In one sense, yes, because your old NAS stays fully online and untouched during the copy, giving you an instant fallback. The trade-off is time, since a network copy is far slower than a physical transplant. If you are keeping the same drives and have a backup, a transplant is perfectly safe too.
What happens to my Plex or Surveillance Station after migrating?
Your media files and recordings move fine, but the app packages and licenses often do not carry over cleanly. Plan to reinstall Plex and re-apply any Surveillance Station device licenses on the new NAS. Keep your license keys handy before you start the migration.